Setting Up Audio Monitoring in OBS
Step-by-step guide to configure audio monitoring for overlays
Why Audio Monitoring?
Audio monitoring allows you to hear audio from your overlays (such as sound alerts, TTS, and walk-ons) directly through OBS, ensuring they play correctly during your stream.
Steps to Set Up Audio Monitoring
- Open OBS Studio: Launch OBS on your computer.
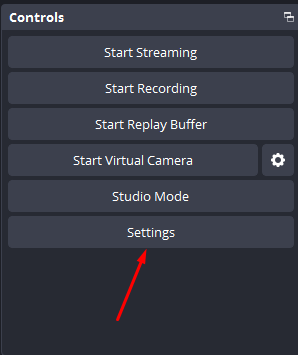
- Go to Settings: Click on the "Settings" button in the bottom-right corner of the OBS window.
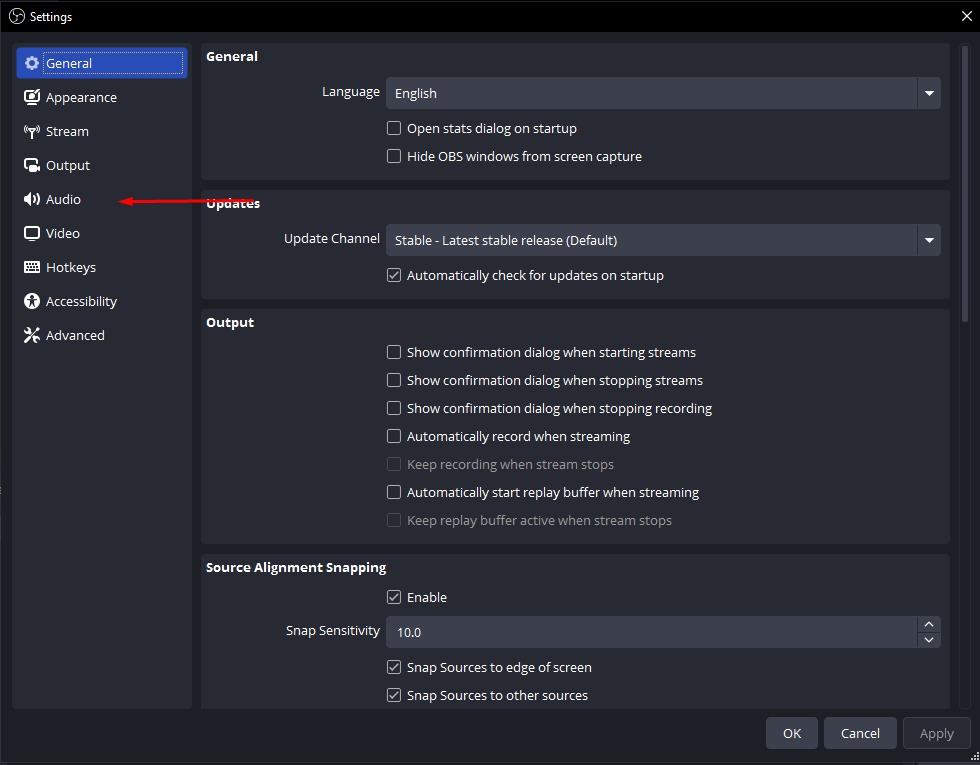
- Select the Audio Tab: In the settings window, click on the "Audio" tab.
- Configure Monitoring Device:
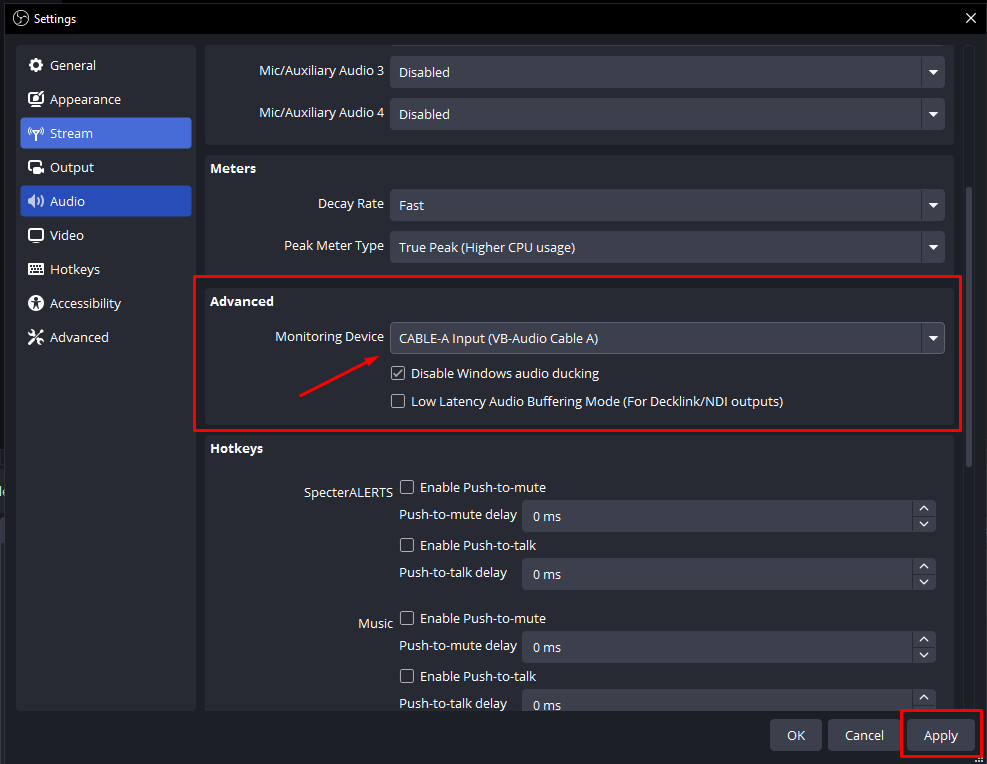
- Under "Monitoring Device," select your desired audio output device (e.g., your headphones or speakers).
- If you want to monitor all audio, choose "Default" or your primary audio device.
- Add Browser Source for Overlay:
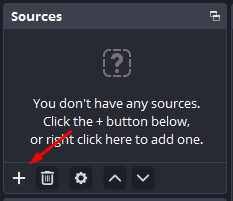
- Go to the Sources box in OBS and click the "+" icon to add a new source, then select "Browser".
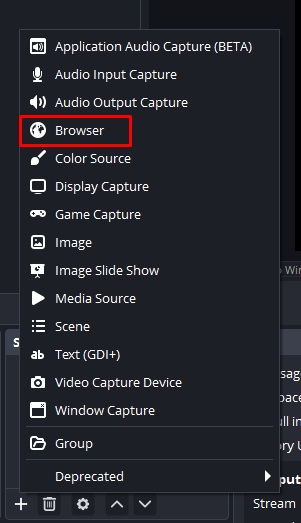
- When the Create/Select Source window opens, select "Create new" and name it anything you like (e.g., "Specter Overlay").
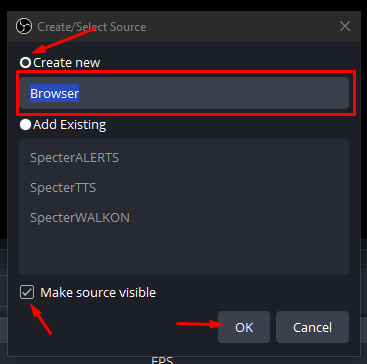
- Ensure "Make source visible" is checked and click "OK".
- When the Properties window for the Browser source appears, enter the correct overlay URL in the URL input box:
https://overlay.botofthespecter.com/alert.php?code=YOUR_API_KEY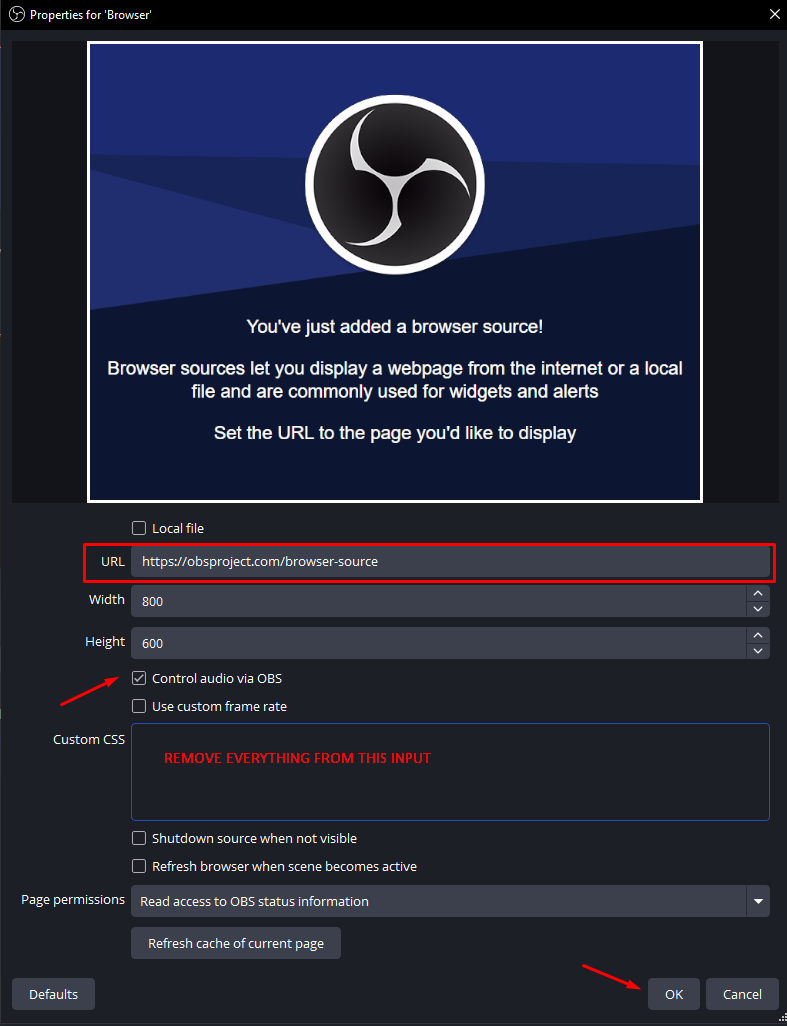
- Check the box that says "Control audio via OBS".
- Remove all the text in the Custom CSS input field.
- Click "OK" to save the settings.
- Go to the Sources box in OBS and click the "+" icon to add a new source, then select "Browser".
- Configure Audio Monitoring for the Overlay Source:
- After clicking OK, the browser source will appear in your Audio Mixer at the bottom of the OBS window.
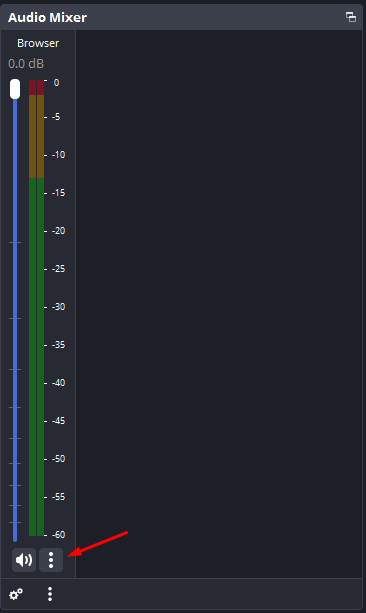
- Click the three dots (⋯) next to the speaker icon for the browser source.
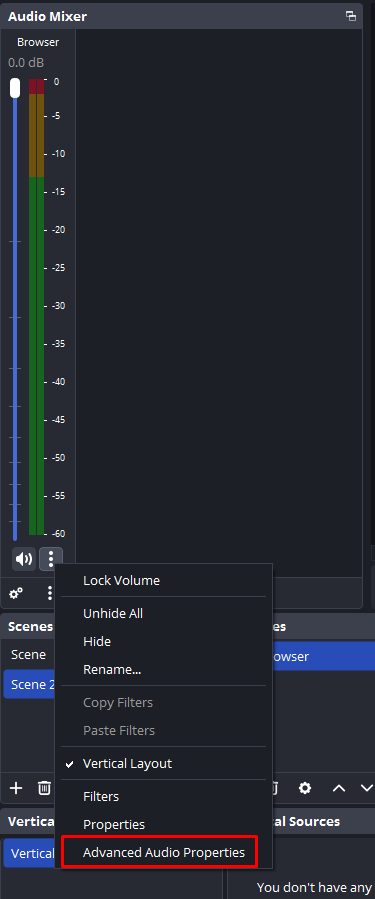
- In the dropdown menu, click "Advanced Audio Properties".
- When the Advanced Audio Properties window opens, click on the dropdown menu next to "Audio Monitoring" and set it to "Monitor and Output".
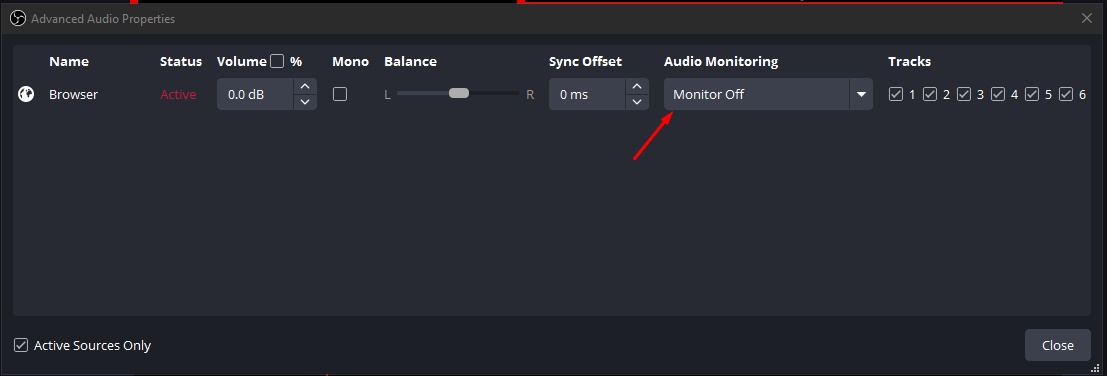

- Click "Close" to close the Advanced Audio Properties window.
- After clicking OK, the browser source will appear in your Audio Mixer at the bottom of the OBS window.
Troubleshooting
- If you don't hear audio, check that your monitoring device is selected correctly in OBS settings.
- Ensure that the overlay URL has the correct API key from your Specter Profile page.
- Verify that your browser source is set to monitor audio.
- Check OBS's volume mixer for the browser source and ensure it's not muted.